Personalized emails are essential for modern communication, especially when reaching out to multiple recipients. Whether sending newsletters, invitations, or business correspondence, personalization can significantly increase engagement and response rates. Microsoft Outlook’s Mail Merge feature is a powerful tool that allows you to send personalized emails to many recipients with ease. Let’s through the process step by step!
What is Mail Merge?
Mail Merge is a feature that combines a list of recipients with a template document to generate personalized emails. It allows you to use placeholders in your email template that are automatically filled with individual recipient data from your mailing list. This means each recipient receives an email tailored specifically to them, enhancing the communication’s personal touch.
Preparing Your Email Document
Before you start the Mail Merge process, you need to prepare your email document. This will be the base content of your emails, which can be personalized for each recipient.
- Open Microsoft Word and create a new document.
- Write the content of your email, leaving space for personalized fields such as the recipient’s name, address, or any other specific information you want to include.
- Save the document in a location you can easily access. Naming it something like “Mail Merge Template” can help you identify it quickly.
Setting Up Your Mailing List
Your mailing list should contain all the data you want to include in your personalized emails. You can use an existing list from Outlook contacts or create a new one in Excel.
- If using Outlook contacts, ensure all the information is up-to-date.
- For an Excel list, create columns for each piece of data you want to merge into your emails, such as First Name, Last Name, Email Address, etc.
- Ensure each column has a header that clearly indicates the data it contains, such as “FirstName,” “LastName,” “Email,” etc.
- Save your Excel file in an accessible location.
Linking Your Mailing List to Your Email Document
With your email document and mailing list ready, it’s time to link them together.
- Go back to your Word document.
- Click on the Mailings tab.
- Select Start Mail Merge and choose E-Mail Messages. This sets the document type to an email format.
- Click on Select Recipients and choose Use an Existing List. Navigate to your Excel file and select it.
- A dialog box will appear, prompting you to select the sheet within your Excel file that contains your data. Ensure you select the correct sheet.
Adding Personalized Content to Your Email Message
Now, you’ll add placeholders to your email document that correspond to the columns in your Excel mailing list.
- Place your cursor where you want to insert a personalized field in your Word document.
- Click on Insert Merge Field and select the field you want to add. For example, to add the recipient’s first name, select the “FirstName” field.
- Repeat this process for all the personalized content you want to include, such as last names, email addresses, or any other specific data.
Previewing and Finishing Your Mail Merge
Before sending out your emails, it’s crucial to preview them to ensure everything looks correct.
- Click on Preview Results in the Mailings tab.
- Use the arrows to navigate through different recipients to see how each email will look with the personalized data.
- Make any necessary adjustments to your template to correct any issues you spot during the preview.
- Once satisfied, click on Finish & Merge and select Send E-Mail Messages.
Sending Your Mail Merge Message
In the final step, you’ll send your personalized emails to your recipients.
- In the To field, choose the email column from your Excel list. This typically is labeled “Email” or something similar.
- Enter a subject line for your email. Make sure the subject is relevant and personalized enough to catch the recipient’s attention.
- Choose HTML as the mail format to ensure your email maintains its formatting.
- Click OK to send your emails. Outlook will send an individual email to each recipient using the personalized data.
Troubleshooting Common Issues
Incorrect Data Fields
If your emails are displaying incorrect or blank data fields, ensure that:
- Your Excel file is correctly formatted, with headers clearly indicating the type of data in each column.
- The placeholders in your Word document exactly match the headers in your Excel file.
Emails Going to Spam
To reduce the likelihood of your emails ending up in spam folders:
- Avoid using spammy words and phrases in your subject line and email body.
- Personalize your emails as much as possible to make them relevant to the recipients.
- Ensure your sending domain has proper SPF, DKIM, and DMARC records set up.
Missing Attachments
If your emails need to include attachments, note that the basic Mail Merge feature in Outlook does not support attachments. You may need to use third-party tools or scripts to include attachments in a Mail Merge.
Best Practices for Mail Merge
Using Mail Merge effectively involves more than just sending personalized emails. To truly maximize its potential, it’s essential to follow best practices that ensure your emails are targeted, accurate, and compliant with regulations. Here are five key practices to consider:
1. Segment Your Audience
Tailoring your message to specific segments of your audience is crucial for effective communication. Instead of sending a generic email to everyone on your mailing list, segment your audience based on relevant criteria. This could include:
- Demographics: Age, gender, location, etc.
- Behavioral Data: Purchase history, website activity, email engagement, etc.
- Psychographics: Interests, values, lifestyle, etc.
2. Test Before Sending
Testing your Mail Merge emails before sending them to your entire list is a critical step to ensure everything looks and functions as intended. Here’s how to do it effectively:
- Send a Test Email: Send the email to yourself or a small group within your team. This allows you to see how the email appears in your inbox and identify any formatting issues or errors in the personalized fields.
- Check for Errors: Look for typos, broken links, incorrect placeholders, or any other mistakes. Ensure that the personalized data fields are correctly populated with the appropriate information.
- View Across Devices: Open the email on different devices (desktop, tablet, mobile) and email clients (Gmail, Outlook, Apple Mail) to ensure it renders correctly everywhere.
- Review Subject Line and Preheader: Make sure the subject line and preheader text are engaging and free of errors, as these elements significantly impact open rates.
3. Monitor Results
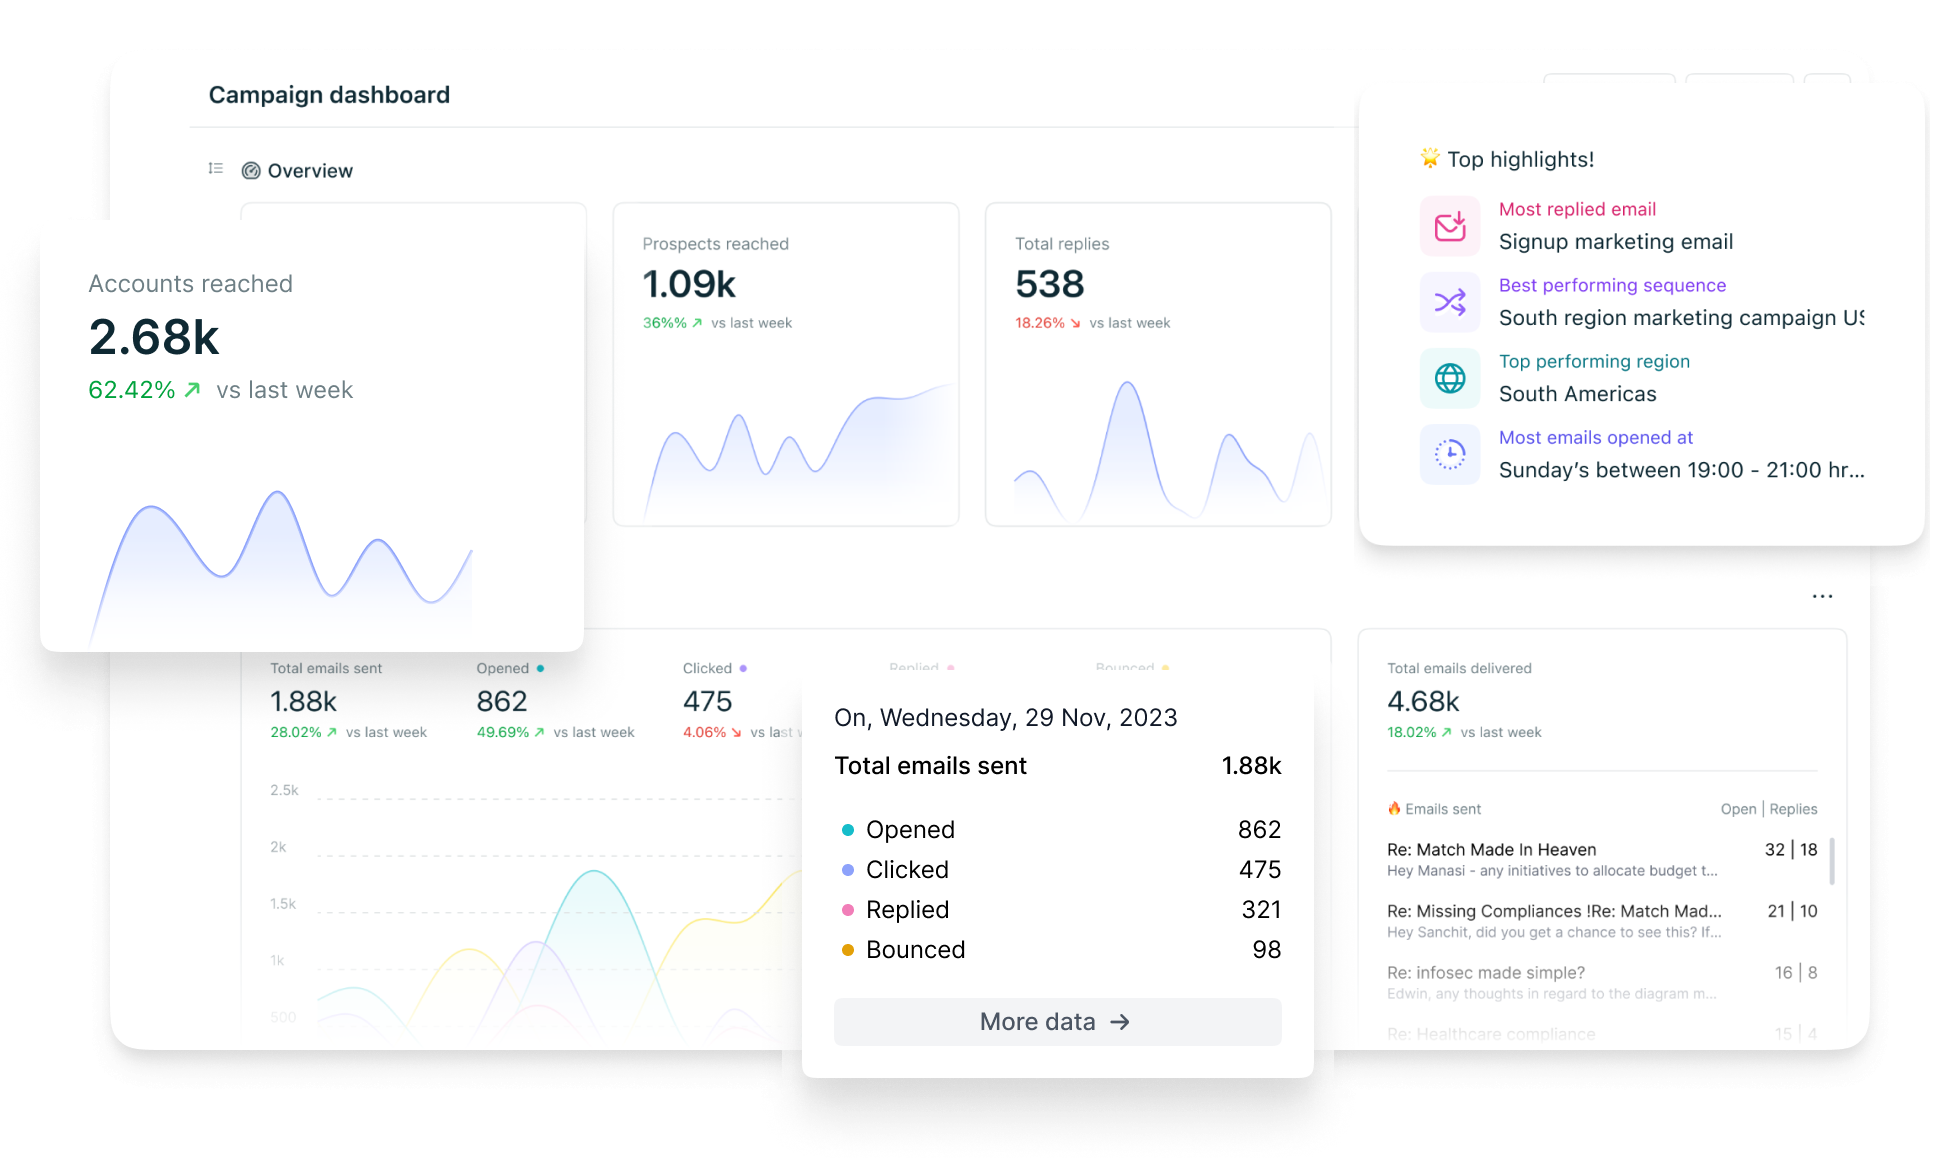
Tracking the performance of your Mail Merge campaigns is essential for understanding their effectiveness and making data-driven improvements. Key metrics to monitor include:
- Open Rates: The percentage of recipients who opened your email. A higher open rate indicates a compelling subject line and preheader.
- Click-Through Rates (CTR): The percentage of recipients who clicked on links within your email. This shows how engaging and relevant your content is.
- Conversion Rates: The percentage of recipients who completed a desired action (e.g., making a purchase, or filling out a form) after clicking through your email.
- Bounce Rates: The percentage of emails that could not be delivered. High bounce rates may indicate issues with your mailing list’s accuracy.
- Unsubscribe Rates: The percentage of recipients who opted out of future emails. Monitoring this can help you understand if your content is resonating with your audience or if changes are needed.
4. Keep Your List Updated
Maintaining an accurate and up-to-date mailing list is vital for the success of your Mail Merge campaigns. Here are some tips for keeping your list current:
- Regular Data Cleaning: Periodically remove inactive or invalid email addresses. This reduces bounce rates and improves deliverability.
- Update Contact Information: Encourage recipients to update their contact information if it changes. You can do this through periodic reminders or during interactions such as purchases or account updates.
- Segment and Organize: Continuously refine your segments based on new data and insights. Ensure that your segmentation criteria remain relevant and useful.
- Integrate Data Sources: Sync your mailing list with your CRM and other data sources to ensure consistency and accuracy across all platforms.
5. Respect Privacy
Compliance with data protection regulations, such as GDPR (General Data Protection Regulation), is not only a legal requirement but also essential for maintaining trust with your audience. Here’s how to respect privacy in your Mail Merge campaigns:
- Obtain Consent: Ensure that you have explicit consent from recipients before adding them to your mailing list. This can be achieved through opt-in forms where users actively agree to receive your emails.
- Secure Data: Protect your mailing list and any personal data by using secure systems and encryption methods. Limit access to authorized personnel only.
- Provide Opt-Out Options: Always include a clear and easy way for recipients to unsubscribe from your emails. Honor these requests promptly to comply with regulations and maintain trust.
- Transparency: Be transparent about how you collect, use, and store personal data. Include privacy policies and data use statements in your communications and on your website.
- Data Minimization: Collect only the data you need for your email campaigns. Avoid gathering excessive information that could increase risk and complexity.
Mail Merge in Outlook is a fantastic way to send personalized emails efficiently. By following these steps, you can ensure that each recipient feels valued and receives an email tailored specifically to them. Personalization can lead to better engagement and a stronger connection with your audience.
Remember to always double-check your mailing list and email content for accuracy before sending. With a little practice, you’ll be a Mail Merge pro in no time!